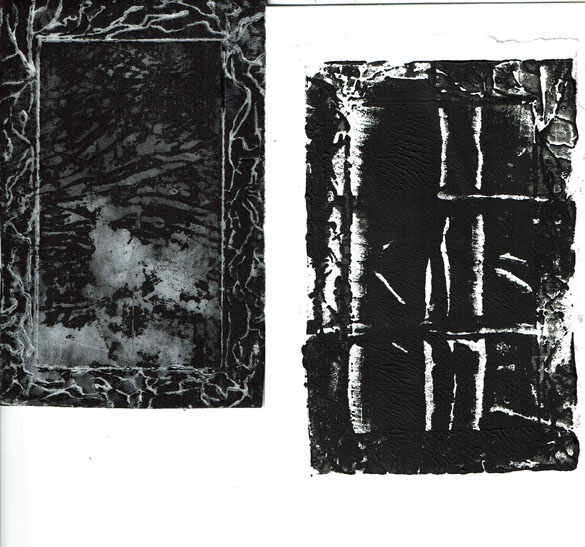
The carved styrofoam plate on left, my selected print on the right.
My Here’s my Daily Art practice for today. As one of my legions of fans, you are well acquainted with my love of styrofoam printing, even though it is certainly among my top two on the list of Unpredictable Techniques I practice. Ink blotting is the first, if you are interested and I know you are. A pattern appears to be presenting itself; I am thrilled with the surprise and frustration of uncertainty. The surprise rather more than the uncertainty, but one has to take the chalk with the cheese.
So, I return to styrofoam printing after a long absence. And, of course, I’ve forgotten everything I knew about it. Seriously. Besides which, there has been one most Unfortunate Incident–I developed an allergy to, or at least a big physical aversion to tempera paint. This was a blow to me. I had developed quite a passion for, love of, and dependence on tempera paint for numerous techniques. I used it instead of gesso. I used it to do expressive finger painting. I used it to create paint blots (those were gorgeous). I used it to print styrofoam plates. It is quick drying, one of the most reasonably priced art materials and widely available.
After investing a goodly sum on tempera paints for a venture different from standard art making (preparing papers for my Interactive Intuitive Readings), and using them for about six months, I happened to leave town for a couple weeks and came back to my studio to notice a nauseating smell. And suddenly I had headaches and sinus problems. Bob did not smell the smell. Even the papers I had previously prepared became unusable. When opening the bottles I was literally assaulted by the stench and this was heartbreaking. I did some online research and there was a small mention of tempera turning moldy and developing odor, but I opened bottles and poured and I couldn’t see anything at all.
Not only had I spent money on the paint I couldn’t use, I had to scramble to find a media to replace it. That took a lot of effort and ended up costing me another goodly sum for Dr.Ph.Martins® Bombay India inks–which are beautiful and Dr. Martin has been making them since 1934, apparently with liquid gold if the price is any indication of the ingredients. But I digress.
I was thrown back into using gesso or acrylic paint for backgrounds. I stopped doing finger painting; I just don’t enjoy it with acrylic paint. Plus it is shiny and one thing I loved about tempera is its matte finish. (There is a good bit of raving about the wonders of tempera elsewhere on this blog.)
So, I took a break from styrofoam printing, except for a fling using ink pads. I either decided dye pads or pigment pads were the best and I can’t remember which it was. That’s a problem because mostly all ink pads are either dye or pigment ink. This is one problem with advancing age or being an artist. Or maybe both. I don’t make notes, or I do make notes and samples and then can’t find them.
Beginning ANEW today, and working with what I have, I cut a styrofoam plate to a good size to print on my 5×7 paper. I brought a stack of that Allstate found paper I spoke about recently to use as scrap practice printings. First, I used a pigment ink pad and that didn’t work one little bit. Feeling encouraged, I used a dye ink pad and that didn’t work either. Feeling desperate, I reached for my Staz-on® ink pad and, of course, that worked best, but not good enough. Just a note, there really isn’t any reason to have any ink pads except Staz-on®.
I next put a blob of black gesso on a piece of wax paper and spread it with a credit card. This is the same technique I used with tempera, back in the Good Old Days. I put the plate on and applied moderate pressure. The print was without definition. I took some paint off the wax paper and pressed the stamp again. Still too much paint. Took almost all the paint off and came up with the print I settled on. At some point I also scraped paint directly on the styrofoam, but that didn’t work, too much paint. Each time between experiment prints I had to wash the paint off the stamp. Luckily, this is quick and easy with styrofoam. Just blot the water off and have another run at it.
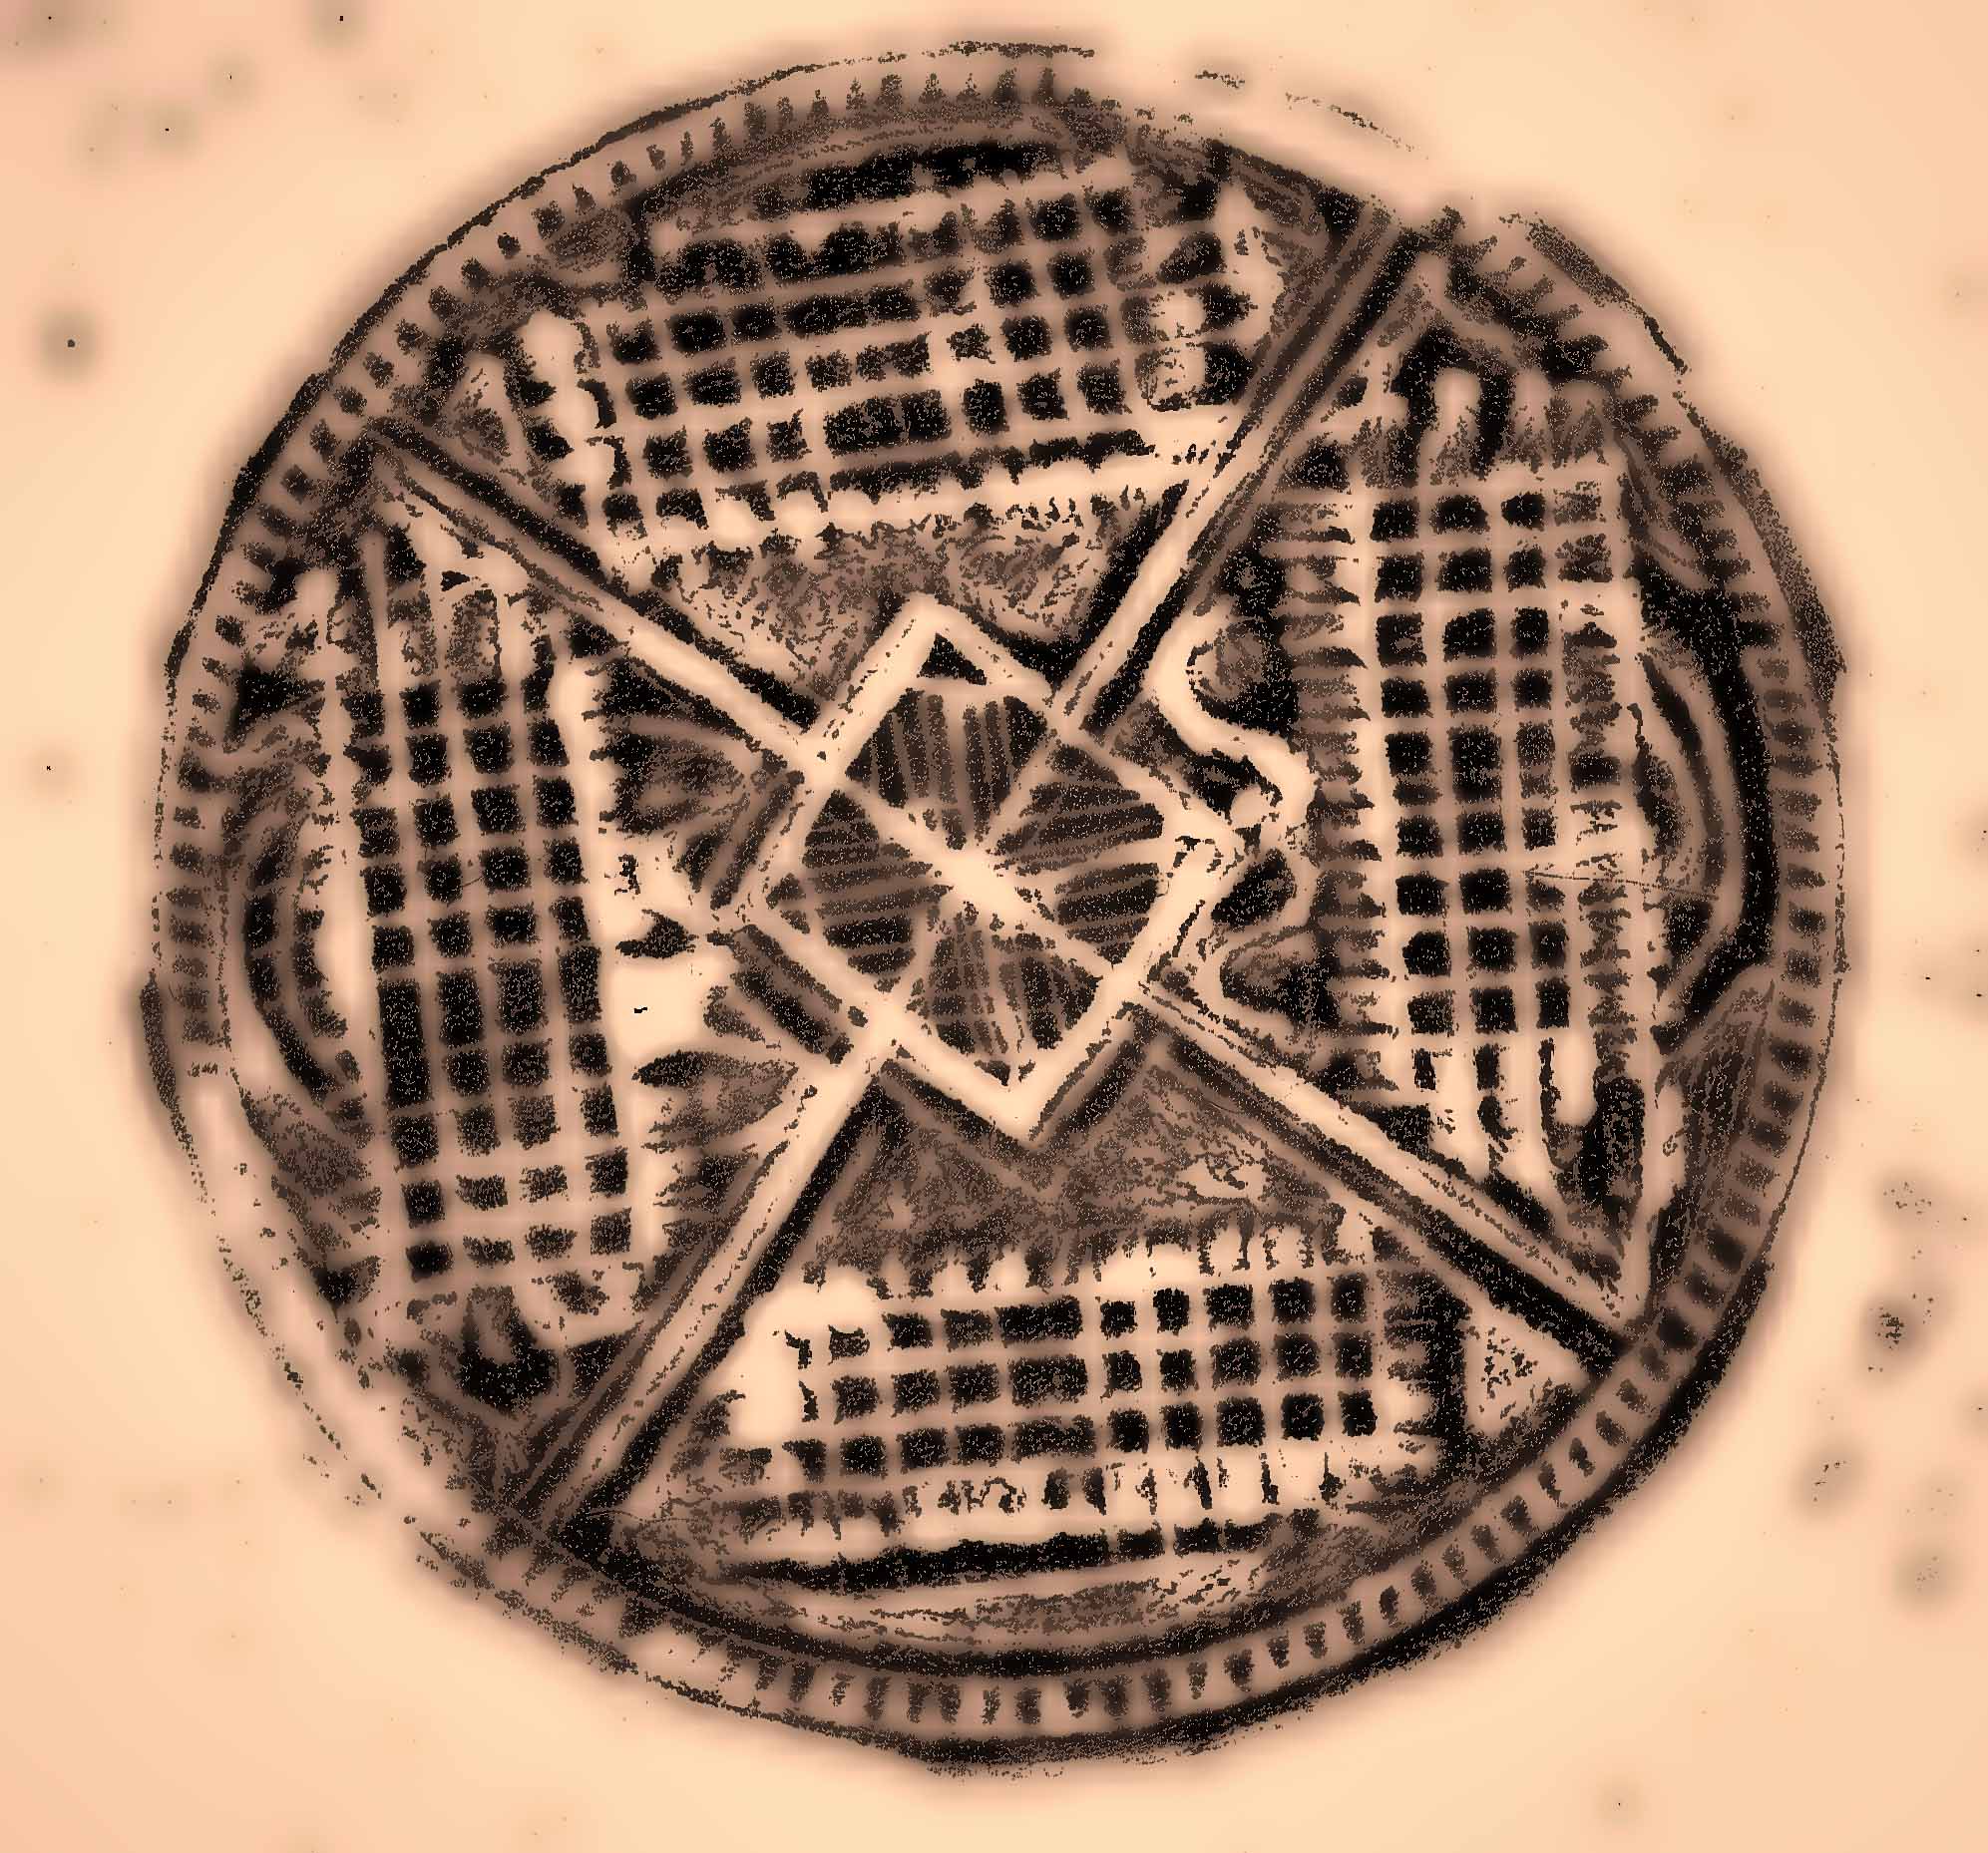
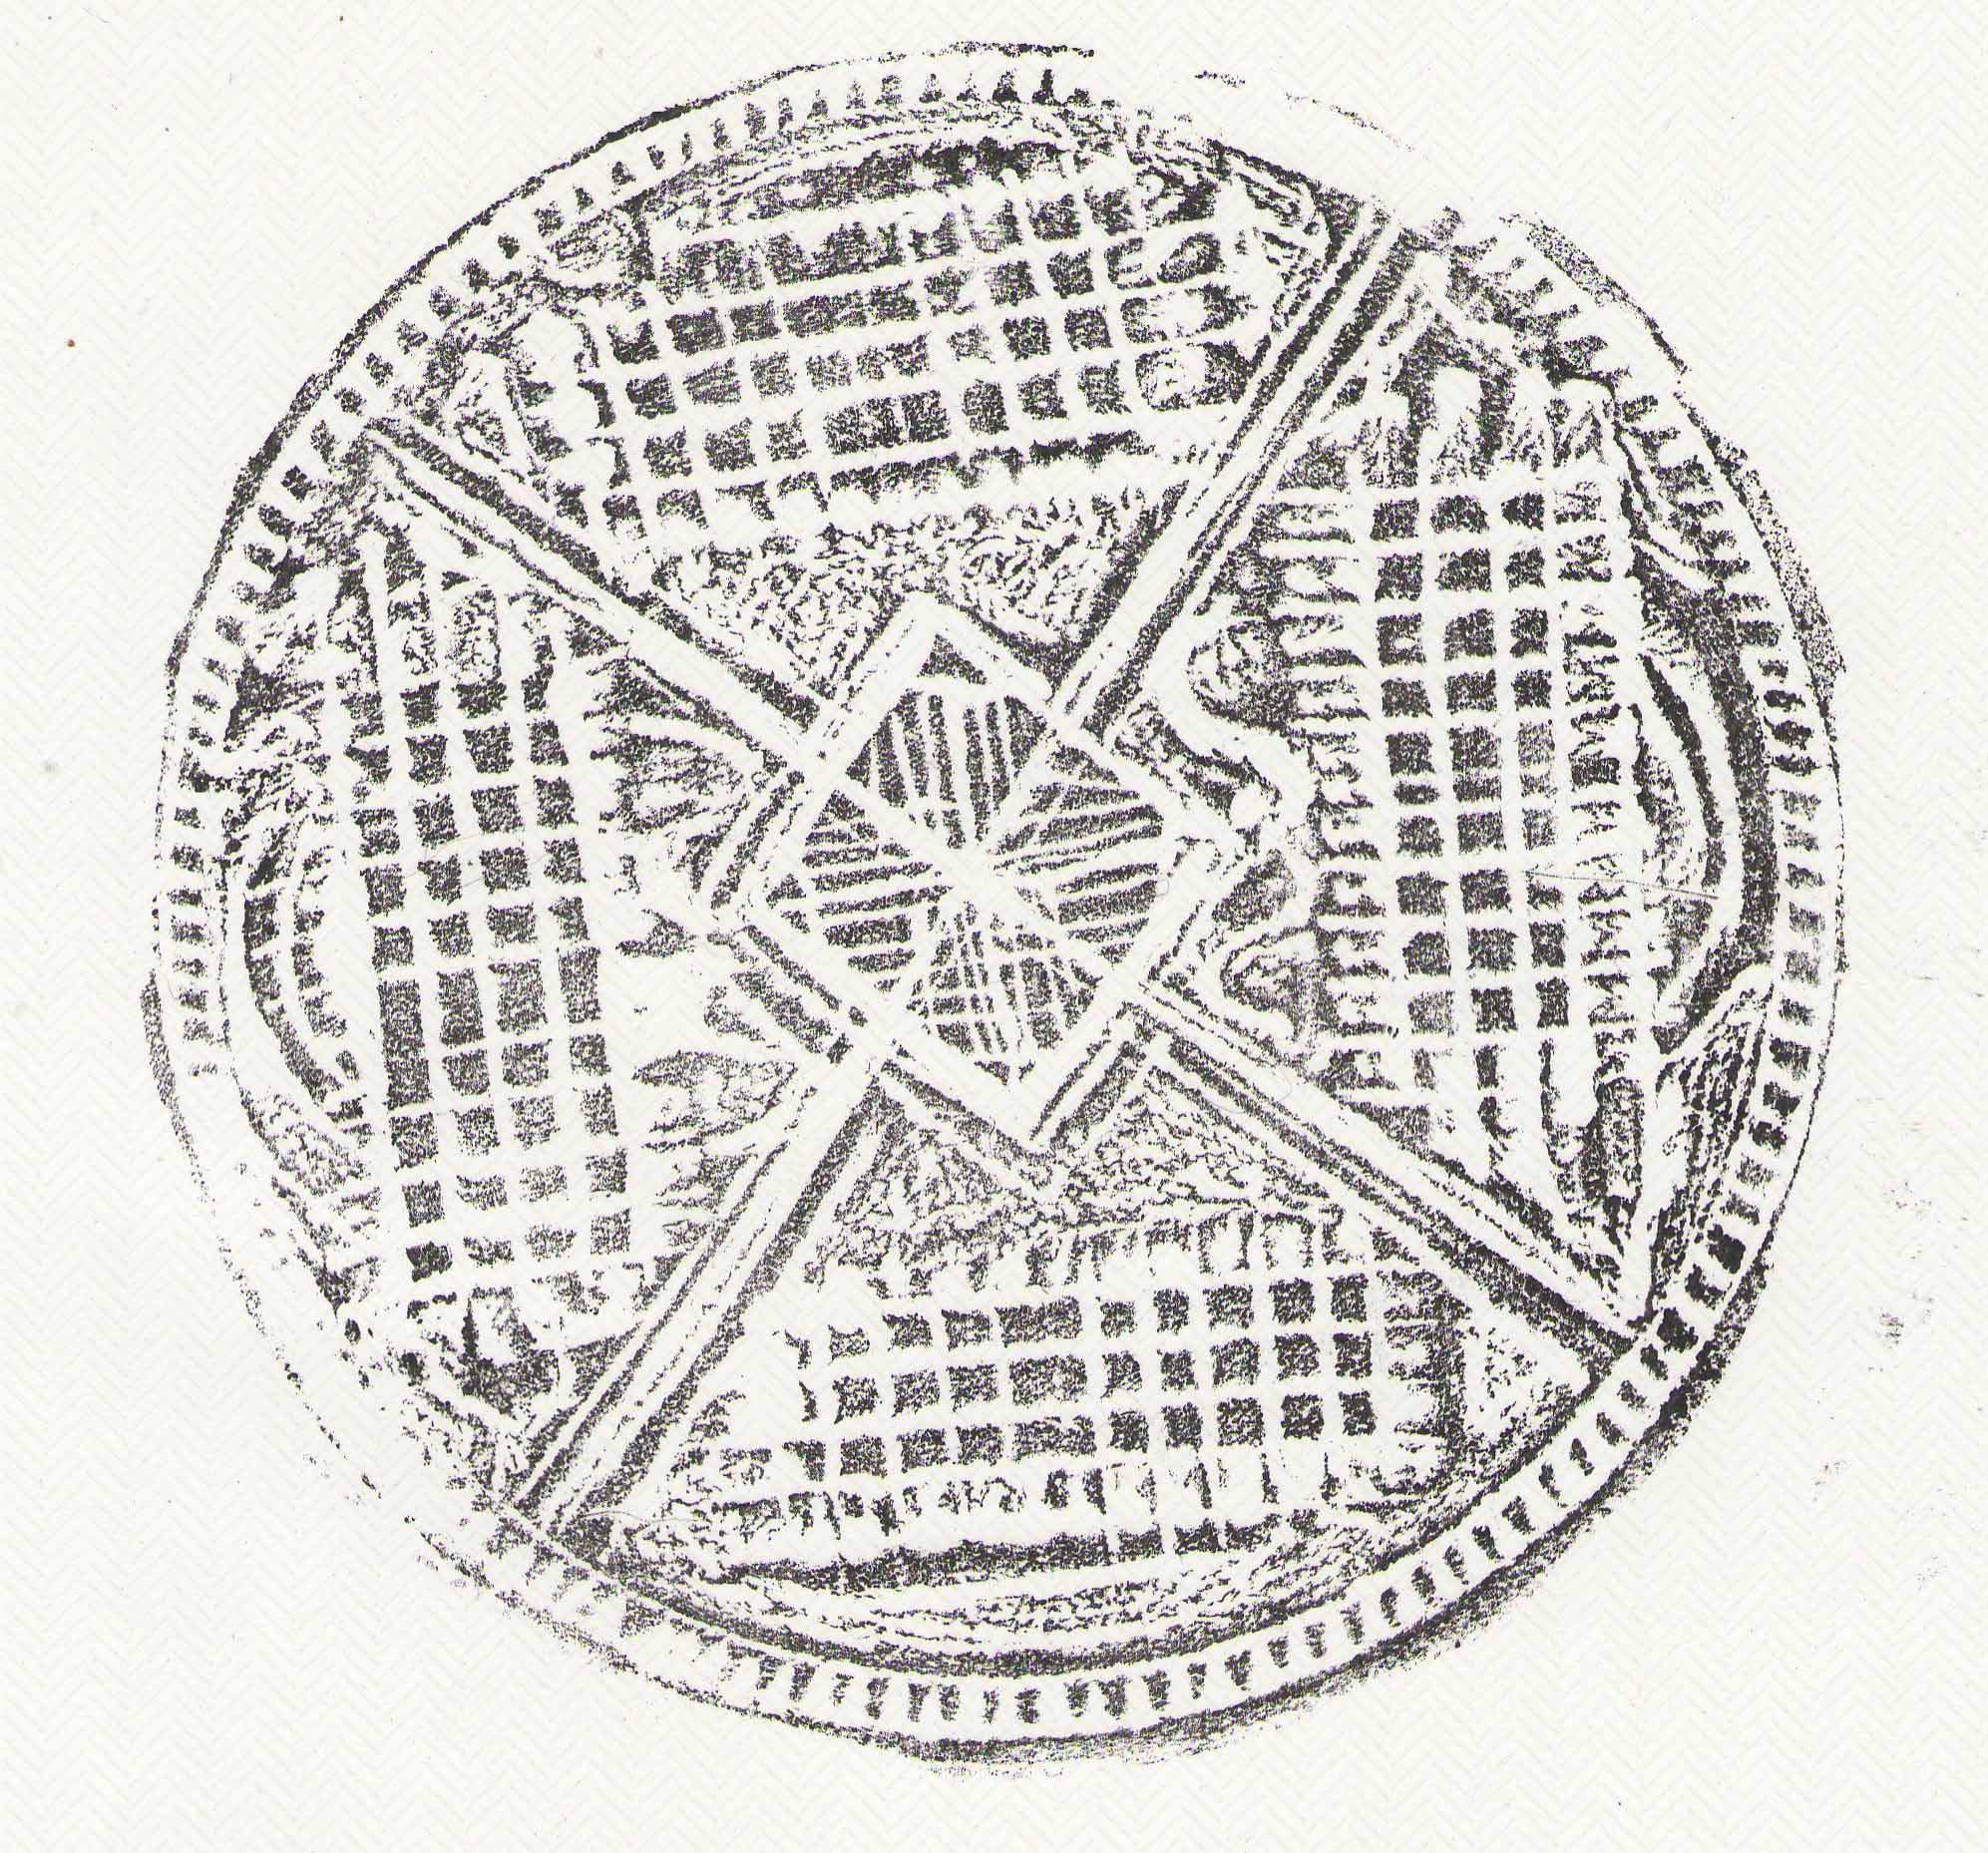
Luckily, I was truly happy with the print I got. Clock is ticking friends. I had just enough time to heat gun it dry, wipe the back with gel medium and mount it on my Rives BFK® printmaking paper. This print looks to me like a dark night, a window through which we are seeing the ghostly outline of a tree. Perhaps you see it differently and that is ok by me. Also, I show you the plate. The plates can be used as elements on their own.
Here’s a picture of the “waste” prints. They are going into my journal. The print shown in landscape orientation has shapes that I will probably work back into to make a separate Daily Art. 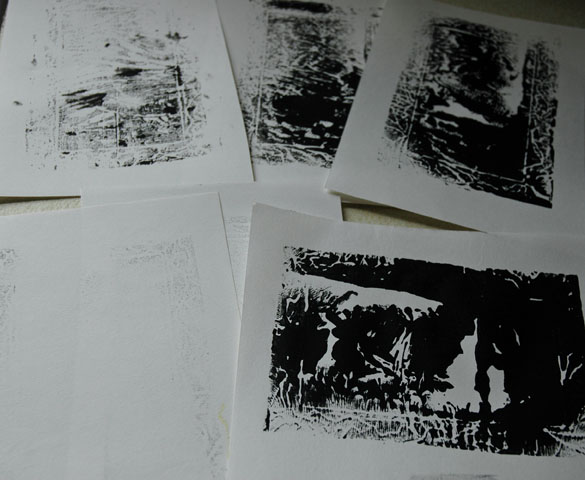
Nothing goes to waste playing with styrofoam printing. If you have a a junk book to alter print into that for instant backgrounds. If you have junk mail or envies print on them. Sometimes an unsuccessful print is amazing. Actually, the print I loved has no relationship back to the plate. I was trying for the decorative border, not the interior of the plate.
Here’s the thing about styrofoam. It is slick as owl shit. Paint doesn’t really want to stick to it. I am facing the ugly fact that I am going to be pressured into pulling out a glass surface, a brayer and some printmaking ink and give that a go. I do not want to do this, that is why I have never done it. It’s too darn much effort and too darn much clean up. It just takes all the fun out of it and who knows if it will work, anyway?
P.S. After I boxed up some of my tempera papers and they sat for a while, Bob opened the box and nearly lost his lunch. Vindicated, but I still miss my dear ole temperas.